Physical Address
304 North Cardinal St.
Dorchester Center, MA 02124
Physical Address
304 North Cardinal St.
Dorchester Center, MA 02124
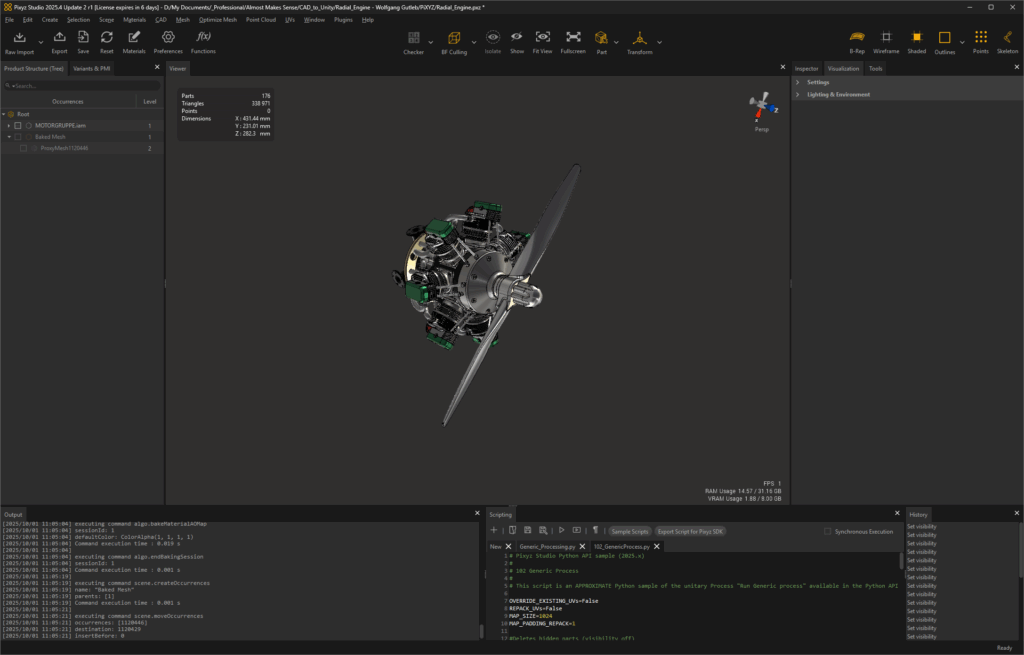
I signed up for a 7-day free trial of PiXYZ Studio, a tool for turning heavy CAD models into clean, optimised meshes and OH MY GOD did I nerd out!
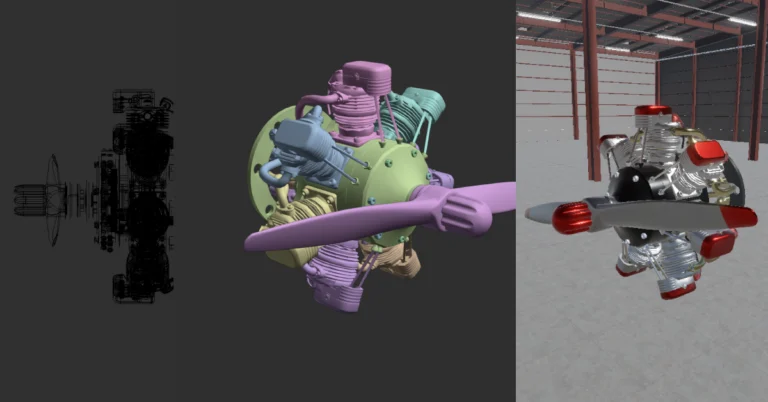
The first thing I did was throw a massive CAD file at it that would normally tank my computer opening it in FreeCAD, the software I use to convert CAD file to polygonal file formats, just to see what would happen. Within minutes, PiXYZ import the file, tessellated and repaired the mesh, and made it ready to import into Unity.
Don’t get me wrong there was still a good amount of tweaking to be done to the file and if I had put the model into Unity and opened it in VR it would have either crashed or stuttered so hard I threw up because of the triangle count. BUT, that whole process would have taken around an hour and 3 different pieces software before so already the time saved is incredible.
So now we have the introduction out of the way I’ll run you through what I have learnt so far.
Getting a CAD file into PiXYZ is pretty straightforward. You’ve got two options: RAW or Guided.
RAW does exactly what it says. You pick your file and get a stripped-down wireframe version of your model. From there, you’re in full control of repairing and tessellating it however you like.

Guided Import is more of a step-by-step wizard. It walks you through file reading, unit setup, tessellation, repair, and hierarchy treatment before dropping a ready-to-go mesh into your scene. It even brings in materials and metadata where possible. Think of it as the safe path: great for PC-based work out of the box, but XR or web projects usually need extra optimization afterwards.
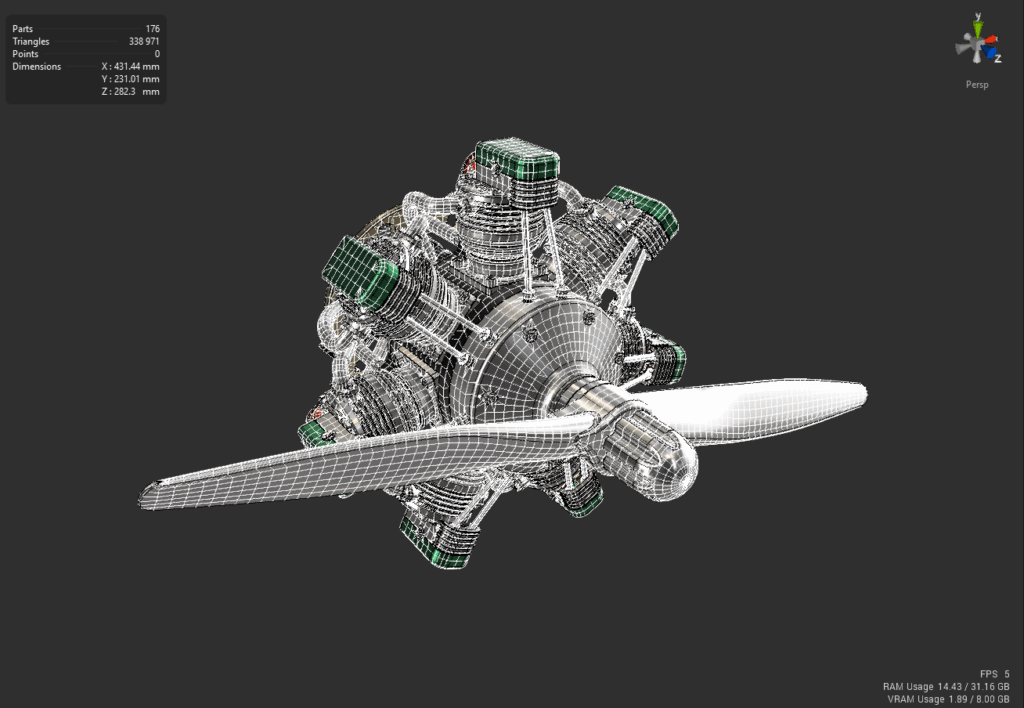
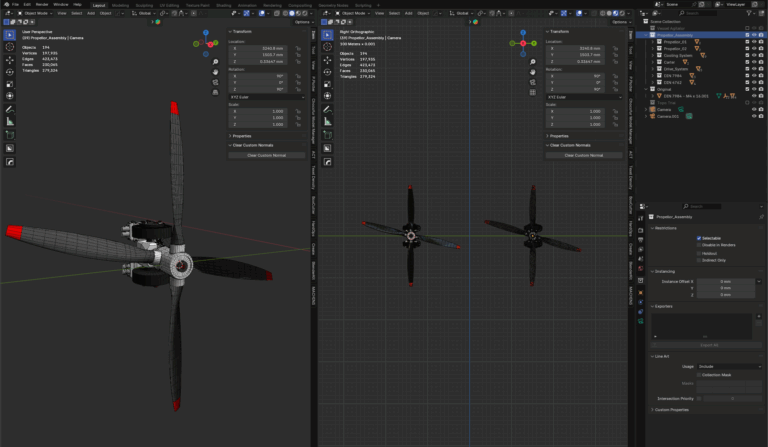
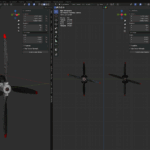
Here’s what a tessellated mesh looks like once it’s through import (I’ve cranked up the settings here for effect — don’t actually import something this dense into a game engine):
With the model in and tessellated, the real fun begins. PiXYZ has a bunch of tools for cleaning things up and getting meshes ready for real-time use. Here are a few I’ve been playing with.
As I get further into using the software I hope to another post on a basic workflow I find to work for me and I will link that here when done [awaiting link] but for now I will run through some of the features I have played around with.
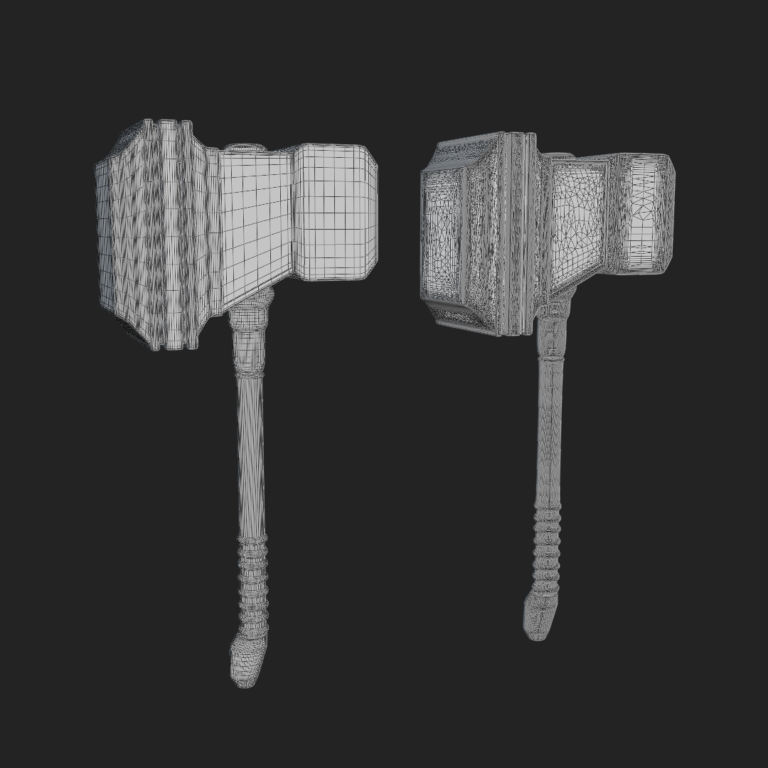
To do almost anything in PiXYZ, you’ll start with the Tessellation tool. It takes B-Rep or NURBS data and converts it into a triangle mesh. You get a few quality presets that control Max Sag (basically how far the tessellation is allowed to drift from the original CAD surface). You can also generate normals and choose whether to keep any UVs that came with the model.
Re-Tessellate is like a do-over button. Instead of working from the mesh you’ve already made, it looks back at the original CAD geometry. That way, if your first tessellation was too heavy or too coarse, you don’t need to re-import and start from scratch. You can just re-tessellate on the fly.
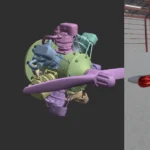
Once you’ve got a decent tessellation, the next challenge is keeping performance under control. That’s where proxies and baking come in.
This one’s a lifesaver when you’re dealing with heavy CAD models. The idea is simple: PiXYZ takes your high-poly mesh and generates a lightweight proxy version. Then it “bakes” detail from the original back onto that proxy — things like surface normals, ambient occlusion, and sometimes even colour or material info. The end result looks almost identical to the high-poly, but the polygon count drops dramatically.
That trade-off makes it perfect for real-time situations where performance matters more than exact geometry: VR headsets, web viewers, or mobile deployments. It also solves those little pain points like logos or embossed details that normally cost thousands of polygons but can be faked with a normal map. If you’re planning to texture in Substance, bake the original high-poly onto the proxy there — PiXYZ uses the low-poly UVs, so you don’t have to fight the messy ones from CAD.
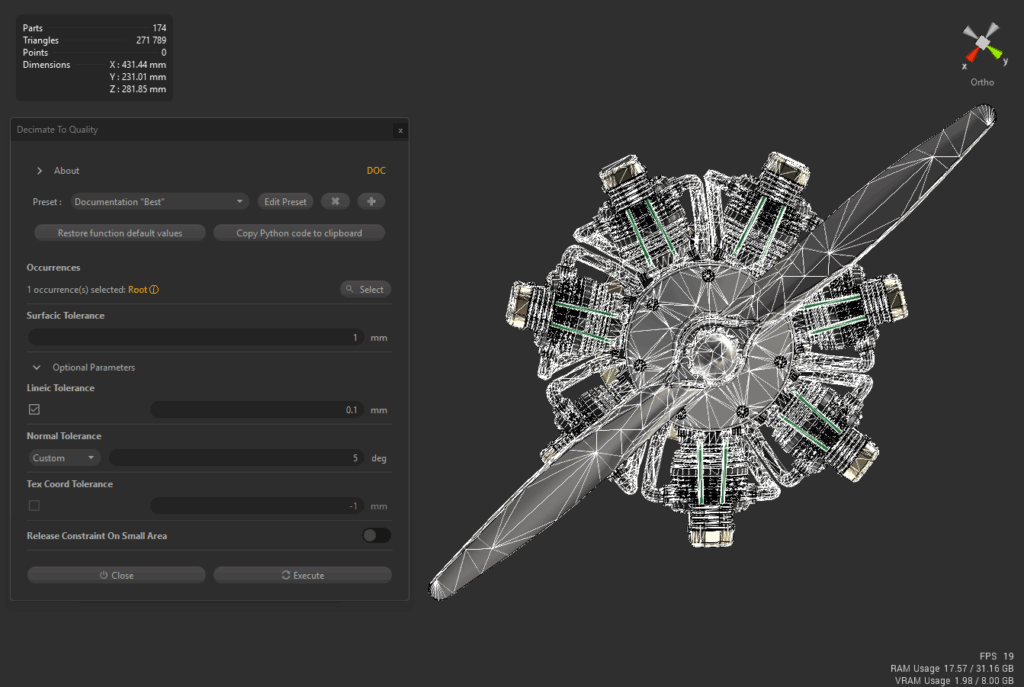
Proxies are great for faking detail, but sometimes you just need to slim things down directly. PiXYZ has a couple of decimation tools that handle that.
PiXYZ gives you two flavors of decimation, depending on what you care about more: performance budgets or visual accuracy.

I’ve barely even scratched the surface of what PiXYZ can do, but even just messing around with tessellation, proxies, and decimation has been a huge eye-opener. I can see this fitting into a real workflow for getting CAD data into Unity or Unreal without my computer throwing a tantrum.
Next up, I want to dig into how PiXYZ fits into a full end-to-end pipeline — importing, optimizing, and then pushing straight into XR or web. When I figure that out, I’ll share the workflow in a follow-up post. For now, if you’ve been fighting with heavy CAD files like I have, PiXYZ is absolutely worth a look.
Comments are closed.
[…] my last post, I took PiXYZ Studio for a spin. This time, I’ve finally landed on a reliable workflow for […]